Drill anatomy
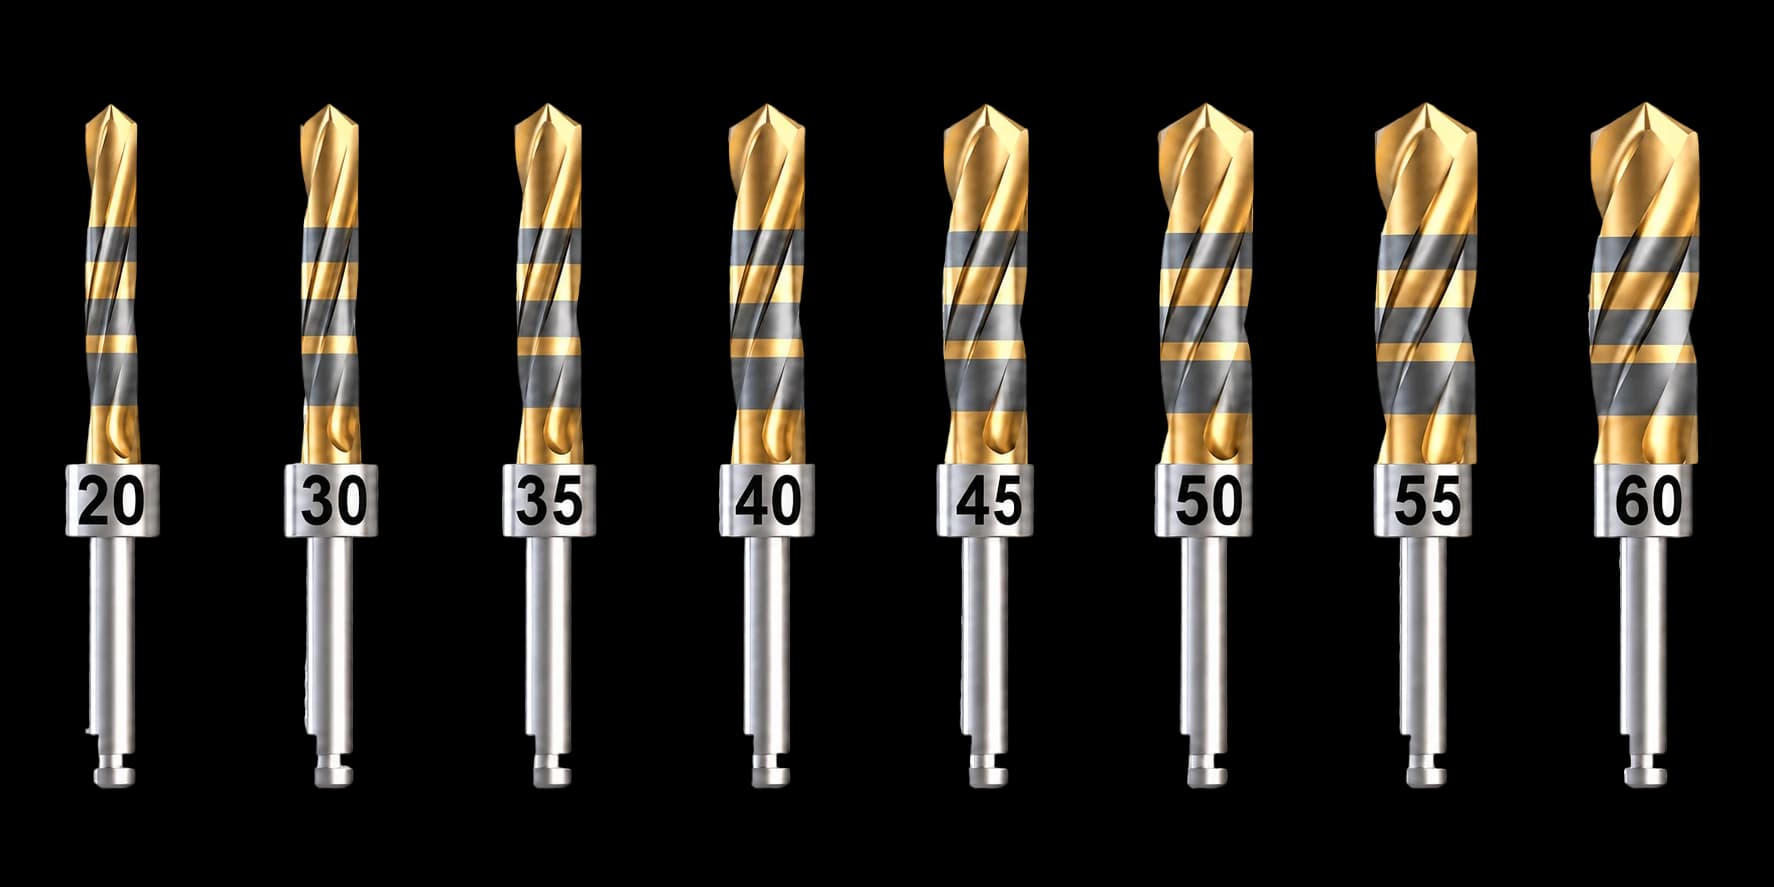
Every implant drill, regardless of brand or material, shares the same functional anatomy. Each feature has a direct effect on cutting efficiency, heat generation, and how cleanly the osteotomy wall is prepared.
Cutting edge
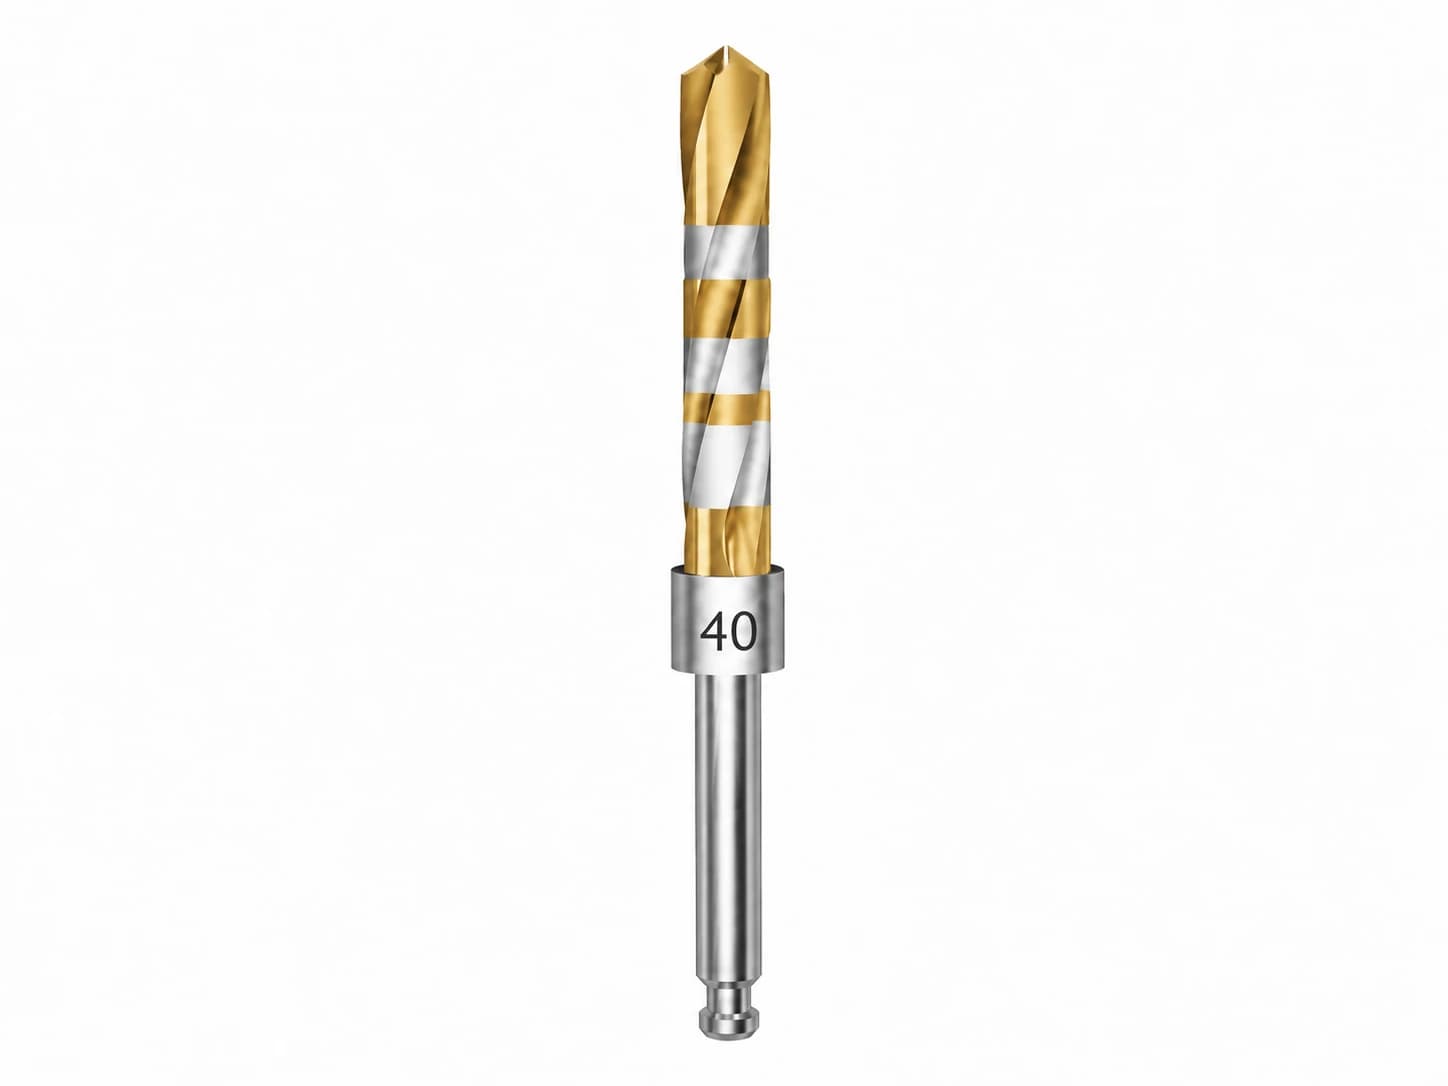
The sharpened tip geometry that actually shears bone. Its angle and sharpness determine whether bone is cut cleanly or burnished and torn. This is the first feature to degrade as a steel drill dulls, and the reason edge-holding hardness matters most.
Flutes
The helical grooves running up the drill body. They channel bone chips up and out of the osteotomy so debris doesn’t pack against the cutting edge and generate friction heat. Flute geometry also lets a large-diameter drill collect autogenous bone chips for grafting.
Depth markings
Laser-etched or grooved reference lines that let the clinician read working depth directly against the crestal bone during drilling, typically at 6, 8, 10, 12, 13, and 16 mm.
Shank
The upper end that seats into the surgical handpiece or contra-angle via a standard latch-type connection — the same interface Nobel, Straumann, and other brand- specific drills already use.
Depth stopper
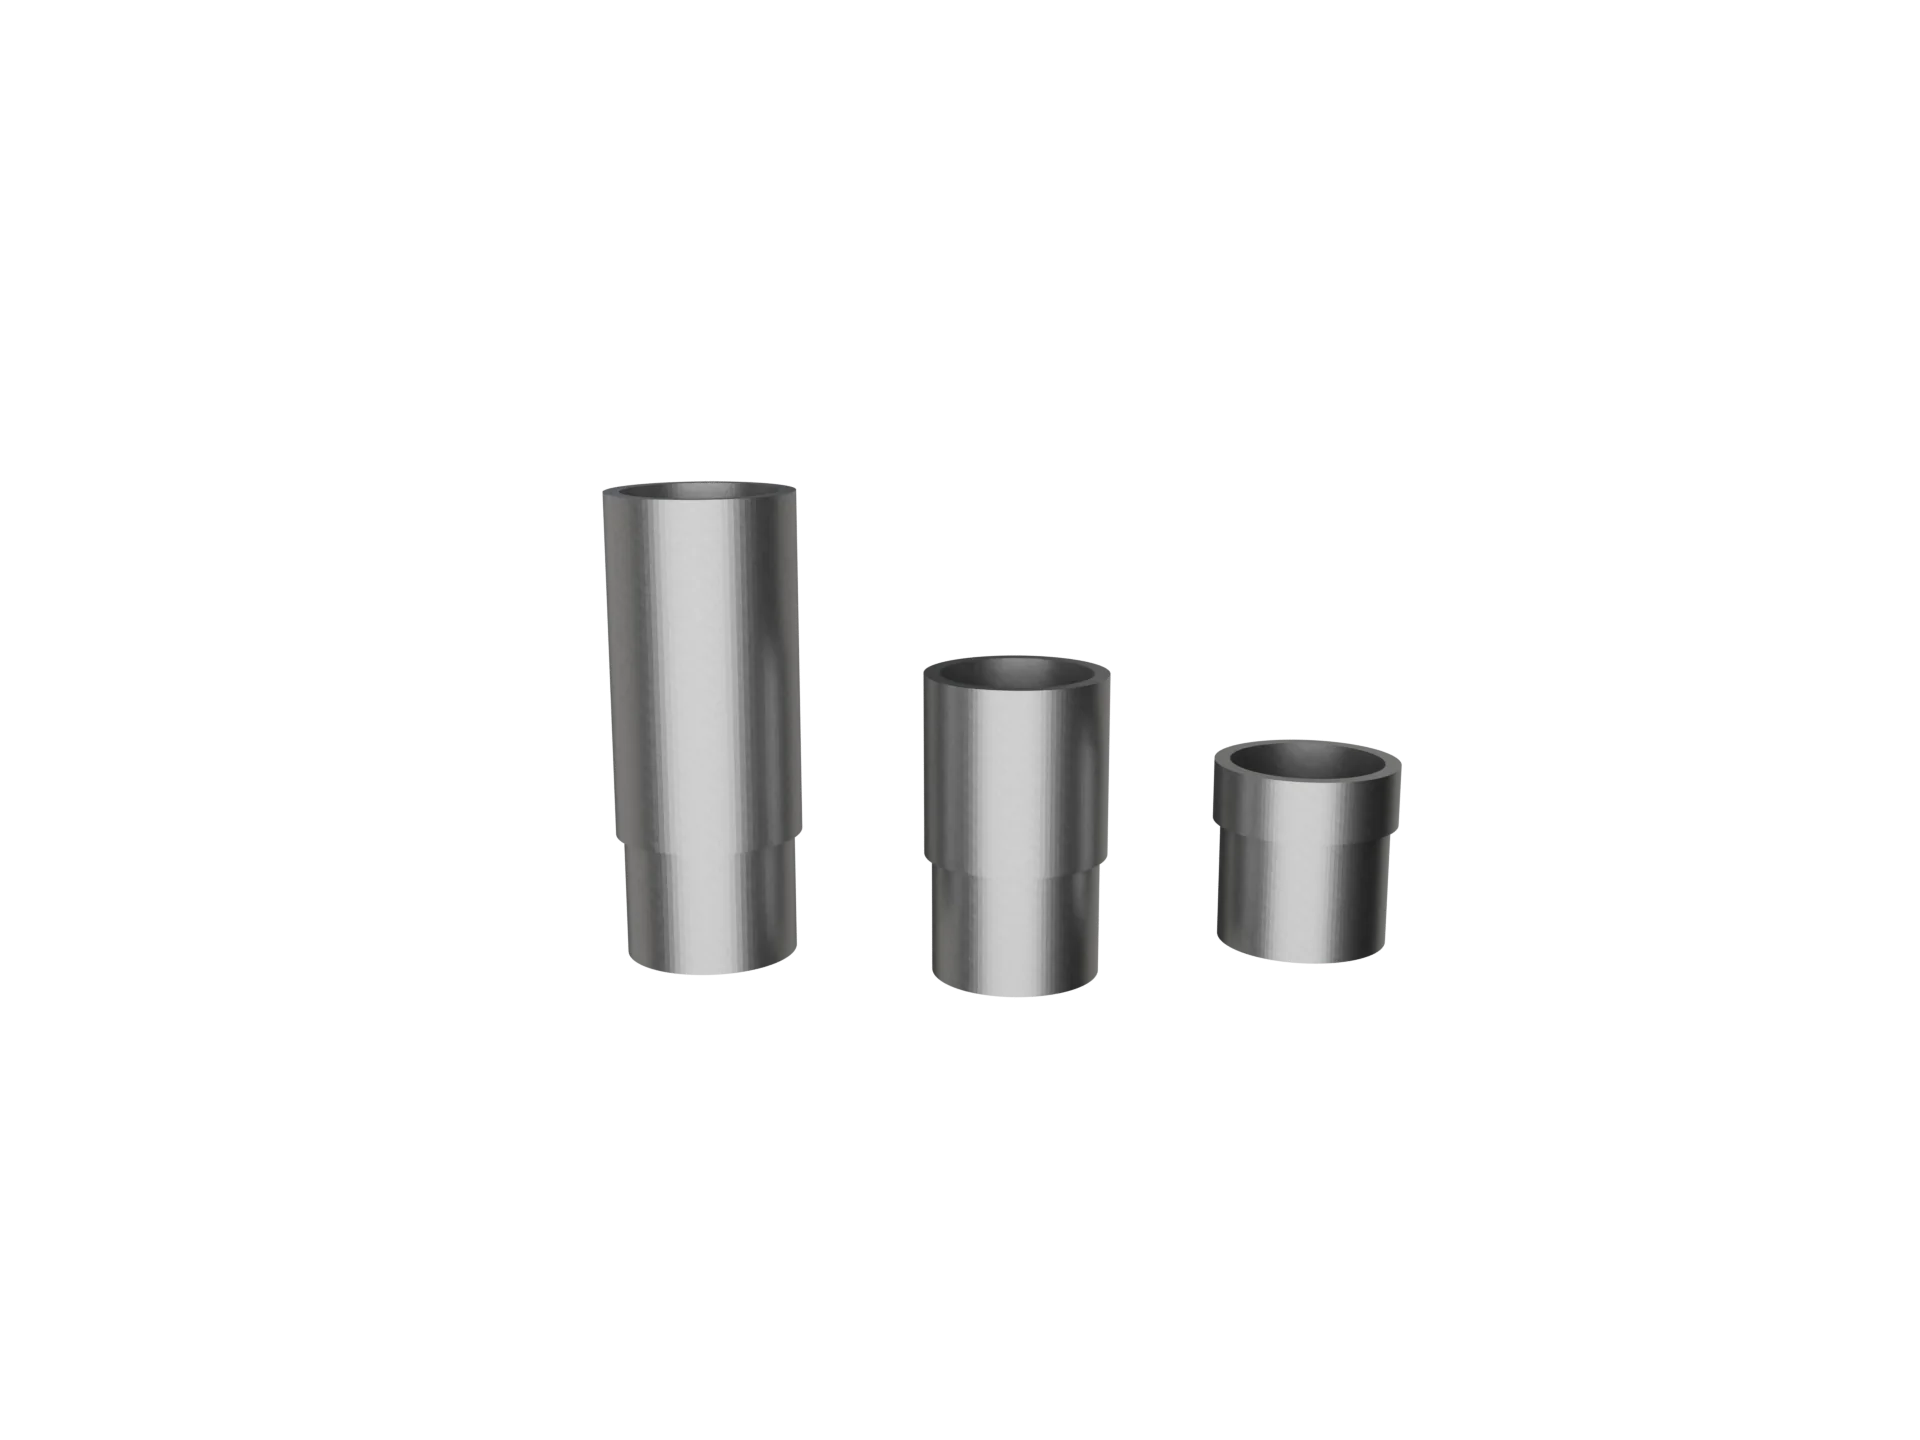
A collar that locks onto the drill shank to mechanically cap the drilling depth. Crown Down’s coded 3D stoppers register against a surgical guide sleeve for guided cases in 8, 10, and 12 mm working depths.
Body & diameter
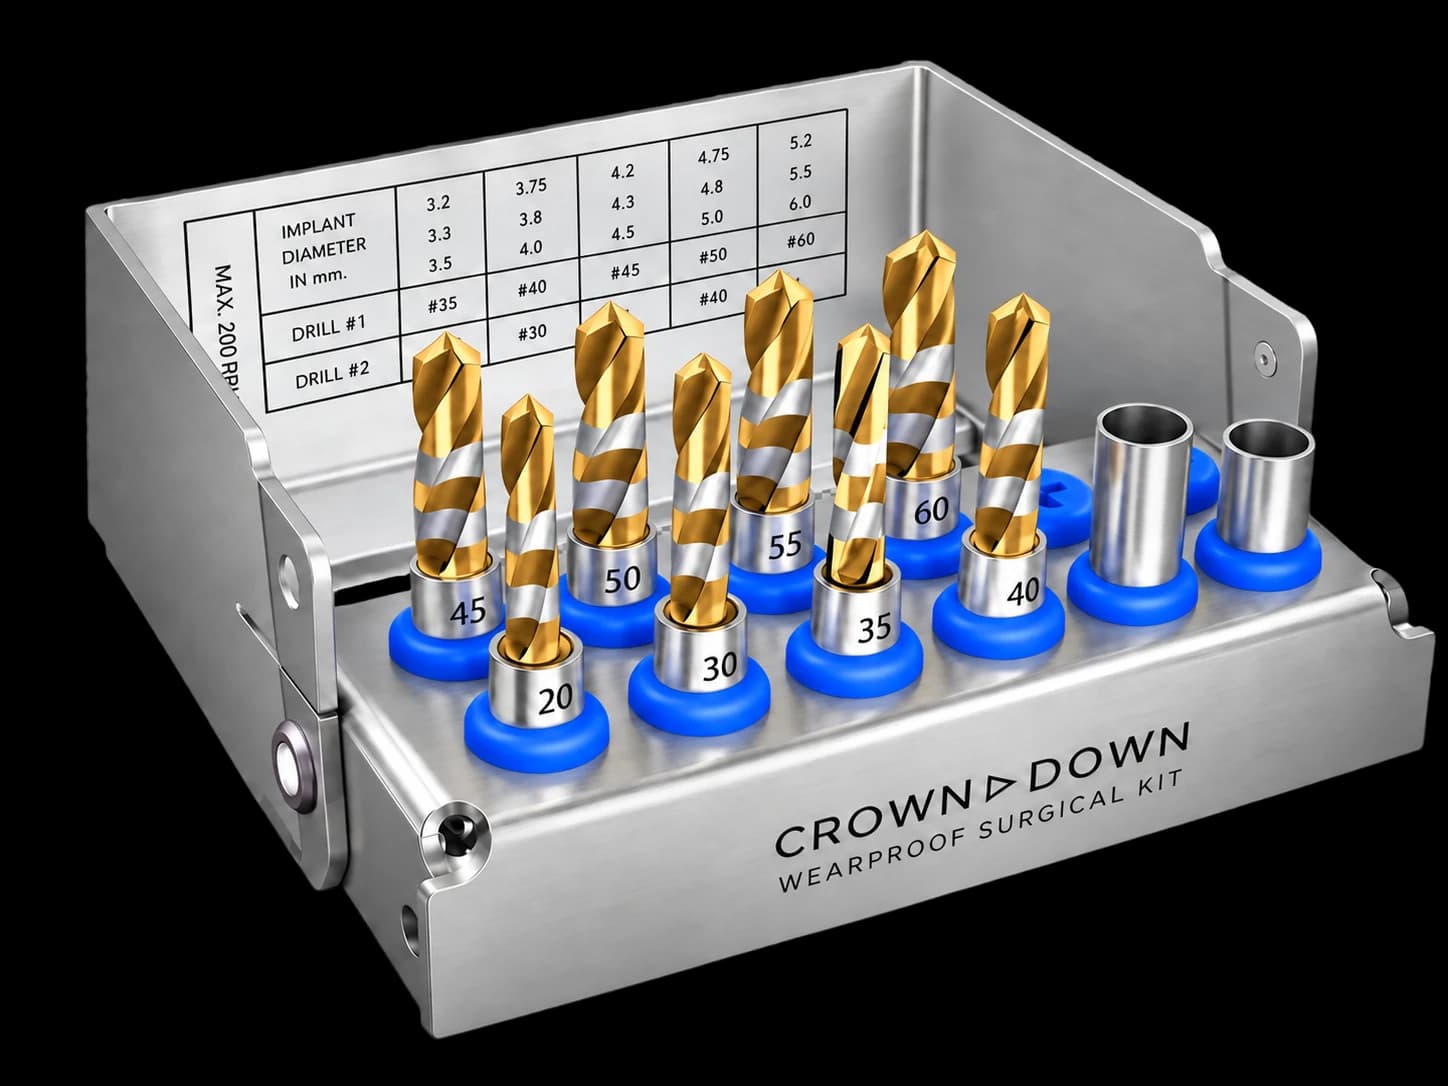
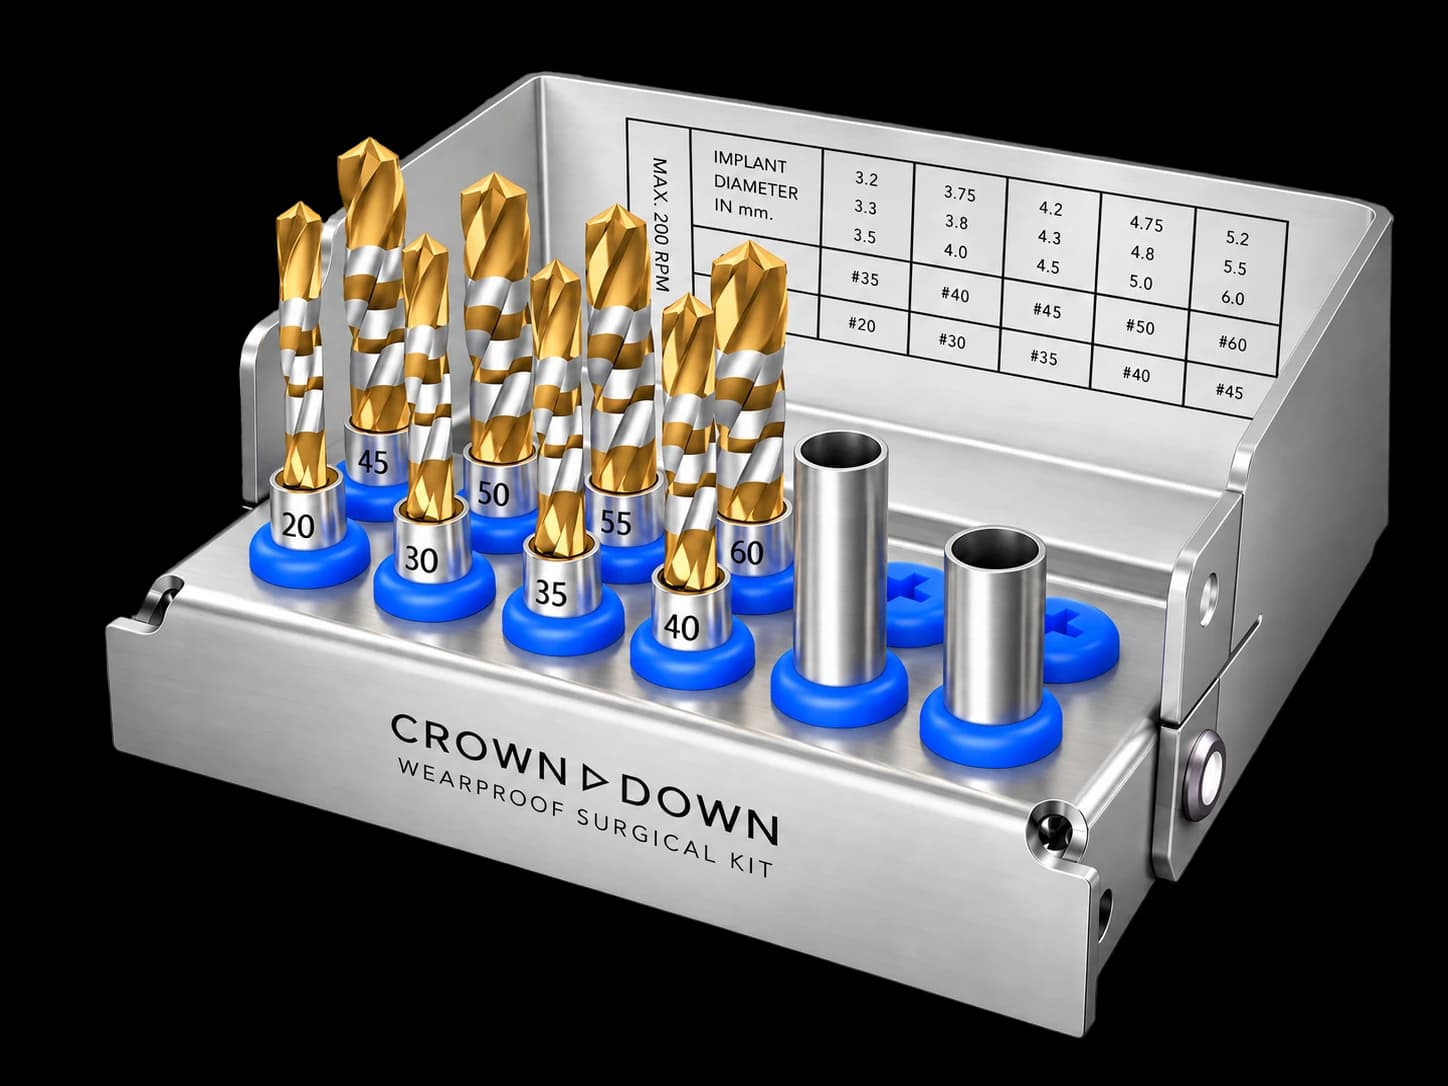
The overall drill diameter defines how wide the osteotomy is cut. Implant drills are sold in a graded set of diameters so the site can be widened to match the exact fixture being placed - detailed in the size chart below.